How to hammer a nail?
It would seem that it could be easier than hammering a nail. To the question of how to do this correctly, any man must know the answer, and a decent part of women. But in the light of the problems of cracked boards, cracked plaster, bent nails and injured fingers, the process of hammering nails is no longer so simple. You just need to know some rules and nuances, and then this procedure will not cause any problems.
So, the secret of a properly hammered nail is very simple: it is a combination of a well-chosen tool, technique and experience. And if you don’t have enough of the latter yet, then it’s time to familiarize yourself with useful tips on this topic that have been accumulated by real masters for many years.
Which tool do you need?
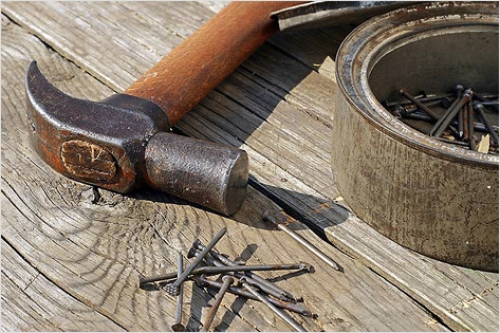
A very common mistake when hammering a nail becomes incorrectly selected hammer. It’s worth remembering the simple rule that the larger and longer the nail, the bigger and heavier the carpentry hammer should be. Depending on the size of the nail, a specific hammer size is selected from four existing ones:
 MST-1 with a handle of 25-28 cm, a working part of 9 cm and a weight of up to 250 g, hammer the smallest nails up to 4 cm long;
- The MST-2 with a handle of 30-32 cm, a working part of 11 cm and a weight of 500 g can be used to hammer larger nails. This is the most common tool;
- MCT-3 already weighs 800 g, and in other parameters and scope of use it does not differ much from the previous version;
- MST-4 with a handle of 35-37 cm, a working part of 13 cm, and a weight of about 1 kg hammer nails from 8 cm or more and even dowels-nails.
Of course, with the help of MSP-4 it is possible to hammer a small wallpaper nail, but it will be more comfortable to work with a tool with adequate dimensions. But, if there is only one hammer in the house, and you need to hammer in a single nail to hang a picture, then it is unnecessary to bother especially - another thing if the volume of construction work is larger.
Secrets of Proper Nailing
The nail will ideally enter the surface, do not deform it and do not bend itself, and the hammer will not cause injuries if you follow a few simple tips.
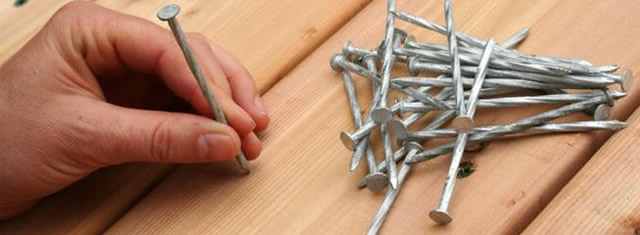
- If there is not so much experience in driving nails, then it will not be superfluous at first mark up and a pencil to indicate the place of future fastening. Next, the nail is leaned against the intended point, held with the index finger and thumb at the base, and the little finger rests on the surface for greater stability. You need to start with light movements in order to drive the nail 3-4 mm into the surface, and when it is already holding, you can proceed with stronger impacts. Professionals say that the fewer strokes, the more firmly the nail will sit, so try to aim better at the nail head, and, holding the hammer by the end of the handle (so the blow will be stronger and require less effort), make a pair of carpal, and then 2-3 strong elbow blows.
- When driving a nail, make sure that it entered the surface smoothly and correctly. And if something goes wrong, it is better to take the wire cutters and carefully, using rotary movements, pull it out. Do not swing from side to side, otherwise the hole may become very wide.
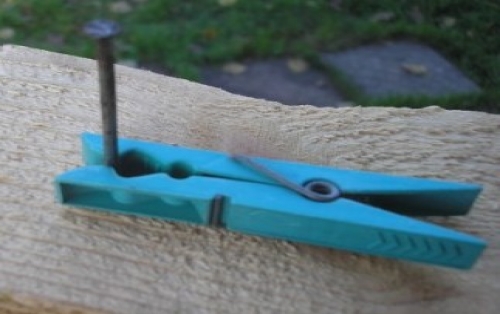
- Probably many newcomers to the issue of hammering nails finger safety, because to keep them at the head with a not too precise blow means to get injured.Therefore, the first time you can use improvised means to hold the nail: it can be a regular clothespin, comb or even pliers. By the way, the latter will help and if you need to drive long nailso that it does not bend at the same time: just hold the product near the hat with them.
- If you work with thin wooden boards, then it is likely that when a nail is hammered, a crack will form. Therefore, it is better to choose nails with a rod diameter that is 4 or more times smaller than the thickness of the board. As an alternative, do not use too sharp nails, and bite off the point with a wire cutter before hammering: this will allow the nail to crush and tear the wood fibers without forming a crack. Naturally, it is not recommended to hammer nails very close to each other on a wooden surface, otherwise you can cause cracks.
- When fasteners must be completed close to the edge of the board, it is better to pre-seal it with a hammer and punch. By the way, a punch is simply irreplaceable when you need to drown a nail into the surface for further plastering, because if you act only with a hammer, you will get dents. If two boards need to be connected at right angles, using several nails, it is better to connect the boards with a small margin, and cut off the excess after hammering the nails.
- It is important to choose suitable length nail: it should not less than a third, and preferably 2/3, enter the surface to which they are attached. If hammer a nail at an angle, then the reliability of the connection increases.
- Experienced construction masters advise to place it for a short time before driving a nail in general in oil or soapy solution: it will be easier to work this way, because a nail will be much easier to enter the surface.
- When you need to hammer a nail in wall with wallpaper, then there is a high probability of careless movements to deform the finish layer. Therefore, it’s better to make a small cross-shaped incision at the intended location before starting to hammer, and only then begin the main actions. After the nail was installed in the right place, the edges of the wallpaper are carefully glued.
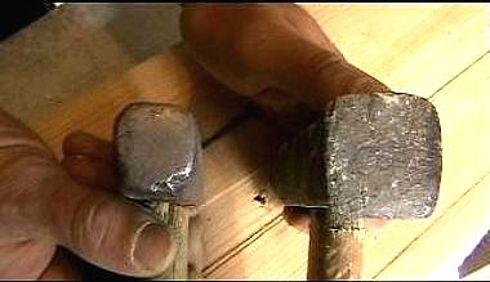
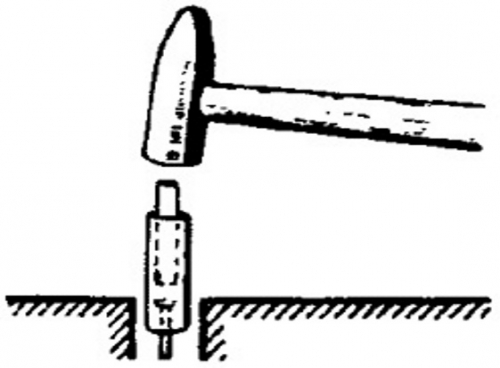
- The process of hammering nails very quickly comes to automatism, and problems can only occur when working with hard to reach placesfor example, when you need to install a mount in a recess, in a corner, etc. In this case, a steel core and a metal tube will come to the rescue, with which the process is simplified as much as possible: the tube is put on a nail, and the core rests on the hat, and then proceed as usual, striking the core with a hammer. Instead of a tube and a core, you can use a nut with a diameter slightly larger than the nail head and bolt. If you need to hammer a nail into the spring bar, you can use a clamp and use it to push the nail in, or use a massive hammer as a support.
- If it turned out that the nail is too long, and its end has already appeared on the reverse side, then, in order to avoid injuries, it is better to bend it with a hook, and then drive it into the same surface.
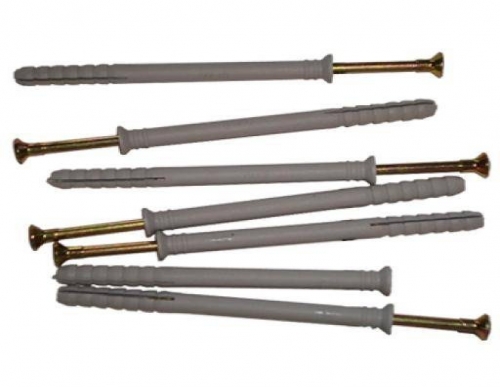
- Often nails have the property bend and even break. There are several reasons for this: too strong or inaccurate hits, or too hard surface. Therefore, if necessary, create a mount in concrete or brick wall it is better to use the expansion bolt shield. So, on the concrete wall, first they outline the necessary place, and then with the help of hammer drill drill the required hole: the diameter is indicated on the storm, which must coincide with the same indicator for the dowel. The depth of the resulting hole should slightly exceed the length of the dowel. Then the dust is cleaned, the dowel is hammered and a nail is installed. Brick wall can be drilled impact drill, and it is desirable to make a hole in the center bricks, since the masonry mortar is not a reliable place for fixing.
In conclusion
Perhaps these are the basic rules that should help the novice master to hammer nails correctly and without problems, injuries and damage. If you need to pull out an already clogged nail, you can pry it with a nail clipper or screwdriverand then grab the hat with ticks and pull. At the same time, it is better to put a piece of wood under the tool so as not to leave visible dents on the surface.

 How to choose nails: types, material, length
 16 tips for choosing a hammer: types of hammers, purpose
 4 tips on how to choose screws: types of screws, ...
 10 tips to choose which liquid nails: ...
 TOP 8 manufacturers of nails in Russia
 7 tips for fixing lining: methods and types of fasteners
 Knitting reinforcement: tools, materials, methods and patterns of knitting
 4 ways to align walls for interior decoration
 8 tips for choosing an ax for all occasions
 Tips H + H: how to choose the right roof for your home from ...