DIY garden scarecrow: 5 interesting ideas
Those who regularly grow crops in their plots know firsthand how much damage annoying birds can cause. Eat - they will not eat, but they will spoil it, it also lands on the ground, and will rot, collecting flocks midges. You can deal with small pests with the help of special jammers, but they are quite expensive. Therefore, many use the old proven method - install a scarecrow in the garden. And the worse, the better. We have collected for you 5 interesting ideas for creating an effective scarecrowwhich will help preserve the crop.
Plastic Scarecrow
To make the scarecrow effectiveit must
- rustling;
- make loud noises with every breath of wind;
- shine.
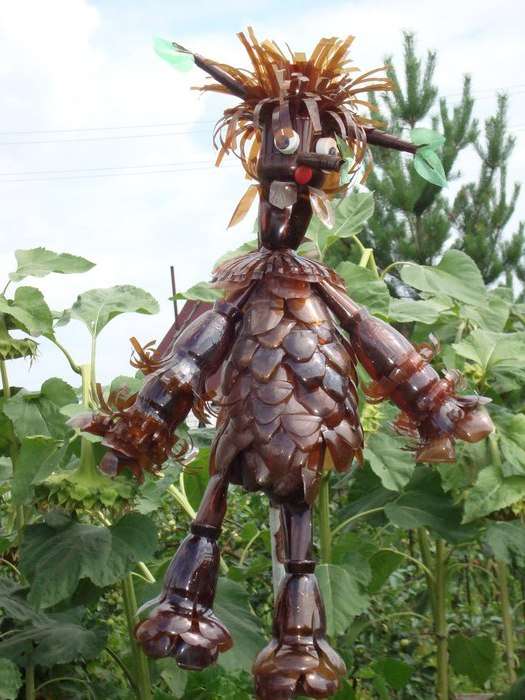 Otherwise, birds may eventually become accustomed to the presence of a silent figure and will continue to destroy the crop. In principle, the material that is full in any home can cope with these requirements - empty plastic bottles.
There are a lot of ways to “collect” a scarecrow from empty containers. You can experiment in the process.
- Take bottles of different colors;
- Do not connect elements too rigidly among themselves so that they can move and make a sound under gusts of wind;
- It is possible to supplement some parts with foil glued with adhesive tape;
- You can connect bottles to each other using a stapler;
- You can dissolve the bottles at the edges of the hands on a long fringe so that it moves in the wind;
- As a basis for a scarecrow, sticks are traditionally used, of which a cross is made;
- For the body, you can use a larger container or, if there are a lot of empty bottles, surround them with a stick in a circle and wrap bottles with tape on the outer diameter for fixing.
Main requirement - mobility of elements.
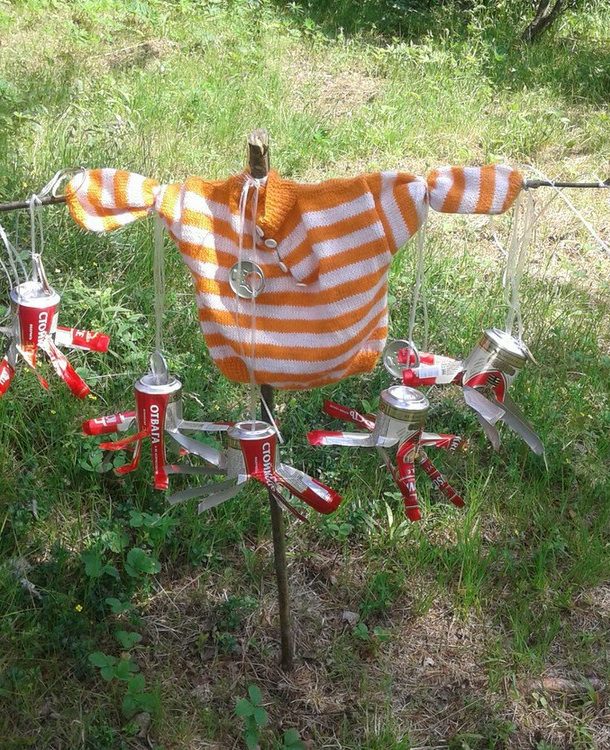
Scarecrow made of reinforced concrete containers or old CDs
The garden scarecrow does not have to have the usual “human” outlines.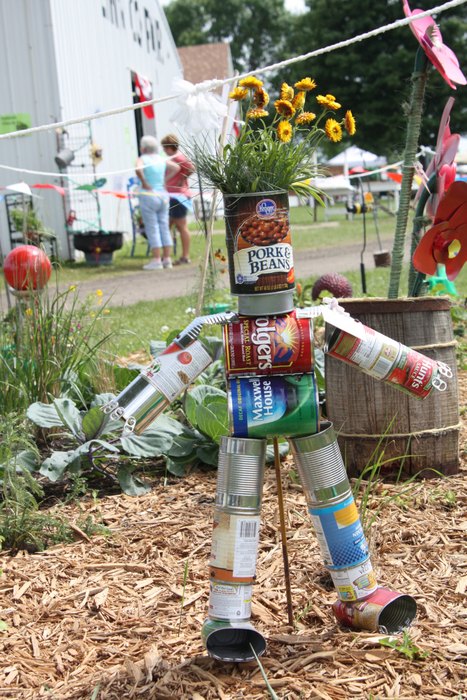 We offer the option of a "guard", which is done very quickly and simply, but at the same time is very effective:
- We need reinforced concrete cans. Many. It can be cans from under drinks, canned food and other things, and twine or a lot of not very thick rope;
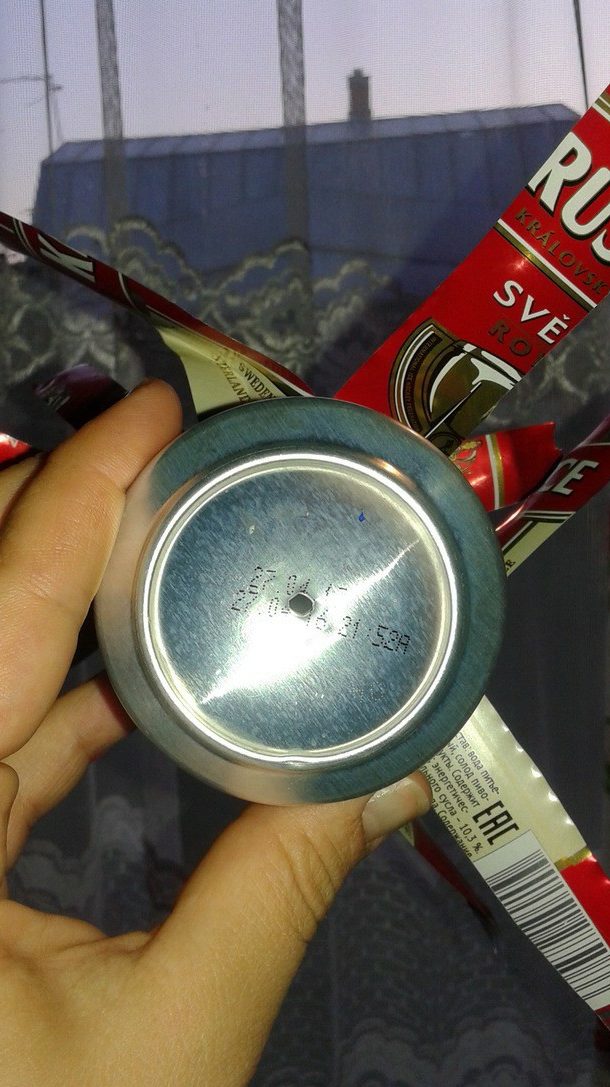
- In the bottom of each jar you need to make a hole;

- Now you need to build a T-shaped support. If there is an old unnecessary mop - use it. Only the shoulder will be small, so the top of the letter "T" will need to be lengthened on the sides. Just use Scotch tape to wind a long stick on top of the squeegee;
- It remains to collect "cans" from cans. To do this, cut the rope as long as the height of the squeegee. Step back from one edge a couple of centimeters and tie a knot of such a size that it does not slip into the hole at the bottom of the can. If the hole is too large, use a plastic bottle cap to secure the cap. Tie a knot on the rope, make a hole in the lid and pass the free end through it, and then through the hole in the can, tie a knot at the base of the bottom of the can;
- Set aside the distance equal to the height of the next can, tie a knot and do the operation again. In this way, the entire can of tape is collected;
- Remember to leave some rope loose in order to tie the tape to the squeegee;
- Such ribbons tie the entire upper crossbar over such a distance that the banks in a hanging state do not touch each other;
Scarecrow is ready. If you want, you can decorate the top with your “head” from a large plastic container, but this is not necessary.
All the same can be done using old cds. 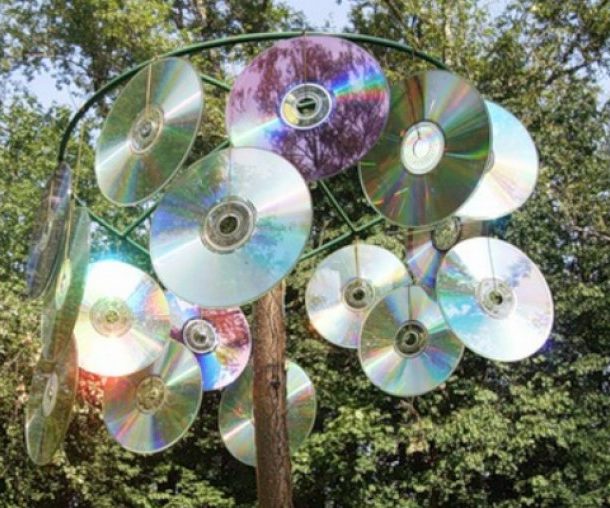 Or even combine these two materials. Such a scarecrow will be strong shine in the sun and rattle loudlythat the birds will not like very much.
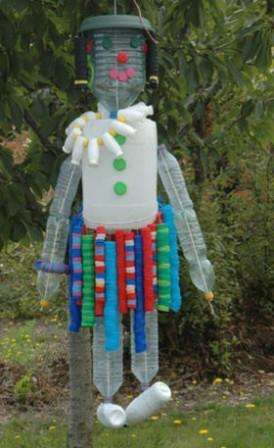
Rustling scarecrow
Another “talking” watchman can be a scarecrow from plastic bags.Only ordinary thin T-shirts won't work - they will tear very quickly under the influence of strong gusts of wind and will fly around the whole district. We will use dense, large bags from supermarkets or dense garbage bags.
- In the same way as in the previous example, we build the base for placing the packages. If you want to diversify the design, you can twist two sticks in the form of a capital letter "X". Only then should the rack look more like a multiplication sign - “×”, so that the packages have enough free space to fly around;
- Watch carefully how you fasten the bags. In no case should you attach them to the handles. The wind will inflate them like a parachute and will eventually tear or tear off the arms;
- Level the bag on the floor. Take it from one side of its bottom and begin to assemble an accordion. At the end, fix it with several turns of tape. Handles should be at the bottom;
- If the bag is tight enough, you can dissolve it on wide tapes;
- There are many such bundles. Now with the help of the same tape you need to tie the rack with plastic "guns";
- We will do this as if we were making a Christmas tree. We fix the first 4 bundles to the bottom of the rack. Pull back the bogeyman’s digging ground. Attach the bundles opposite each other to the stick and wrap them tightly with tape;
- Move this way to the top until you fill the entire length of the sticks;
- The distance between the packages do not too big. At the top of each stick, you can fasten a plastic bottle to make it shiny.
Such a scarecrow will rustle and develop in different directions. And the more magnificent it will be, the better! You can supplement the composition with tapes from old video tapes. They are wider than from audio cassettes and perfectly shine and develop.
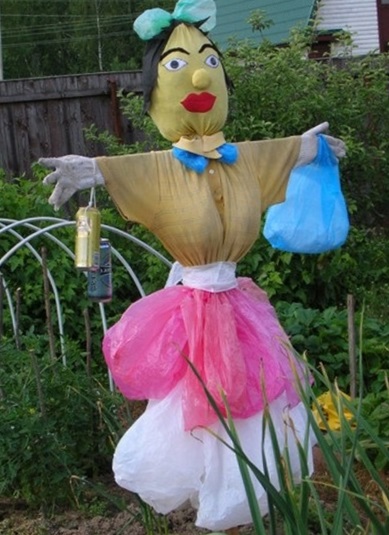
Mini scarecrow
If your plantings are located in separate small beds, then one thing big scarecrow will be useless. It is better to make several small ones and install them directly on each bed. You can look at a successful example on video.
And another interesting scarecrow option
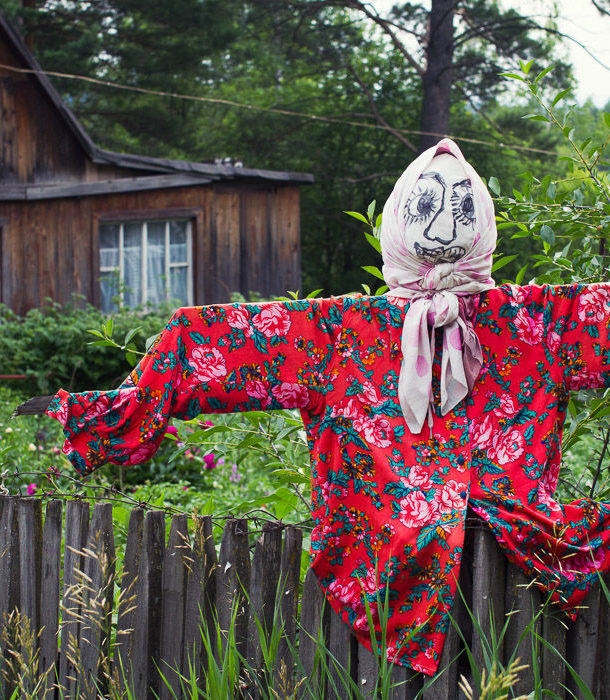
Blue scarecrow
Many ornithologists claim that blue color scares birds. 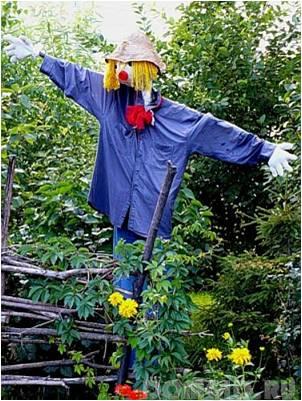 We can take their word for it and take advantage of the advice:
- We make the base of the scarecrow;
- We find in the bins old things, sheets, scarves, anything, blue;
- Making a scarecrow's head. You can take a 5-liter baklaga. You can dye it with blue paint, if it is, or cover it with a blue cloth. We supplement the head with “hair” from the tape from the video cassettes, the longer - the better;
- Dissolve the blue fabric into wide flaps and tie it as often as possible to the base. Can be completed with blue plastic bags.
Our blue scary is ready!

 5 tips to do your own drip irrigation
 9 DIY DIY Craft Ideas for ...
 15 tips on how to make a lampshade / lampshade for a floor lamp ...
 15 ways to get rid of moles in the country
 Outdoor washbasin for summer house and garden: choose the finished one ...
 16 ideas for crafts from plastic bottles for giving + photo
 How to hammer a nail?
 7 tips to get rid of wasps on the site
 Soundproofing the riser and sewer pipes: 5 tips
, floor") Proper installation of the washbasin: wall mounted, ...
Proper installation of the washbasin: wall mounted, ...